
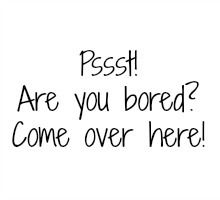
Ever wondered how you could make an image like the one below and put it on your own blog? Today's your lucky day because I'm going to show you one of the easiest ways for you beginners out there!
First you need to design your two images that you wish to use. I personally like to use Picmonkey.com to do the designing because it allows you to easily start out with a white canvas. I save my design to my computer and download it to photobucket (which is my personal favorite for collecting codes)
After uploading your images to photo bucket there is a box to the bottom right that allows you to copy the direct URL. Do this!
Here's the fun part...
1. Start with this code:
<a href="URL ADDRESS"><img src="URL OF THE FIRST IMAGE GOES HERE" onmouseover="this.src='URL OF THE SECOND IMAGE GOES HERE'" onmouseout="this.src='URL OF THE FIRST IMAGE GOES HERE'" /></a>
2. Where it says URL ADDRESS put the URL address of the website you want the image to go to when your audience clicks on it.
3. In the orange, put the URL of the first image you would like. (Yes, this does occur twice). For the blue, put the URL of the second image you would like.
And congrats, now you have a finished rollover image!
No comments :
Post a Comment